Polkadot is a blockchain protocol that facilitates cross-chain communication and interoperability by connecting multiple blockchains into a unified network. In addition to the ways to store DOT on the exchanges (Binance, Huobi, etc.), of course, there is still a separate wallet for storing DOT.
You can store it in your own personal wallet. Currently, there are mobile wallets like PolkaWallet and Trust Wallet.
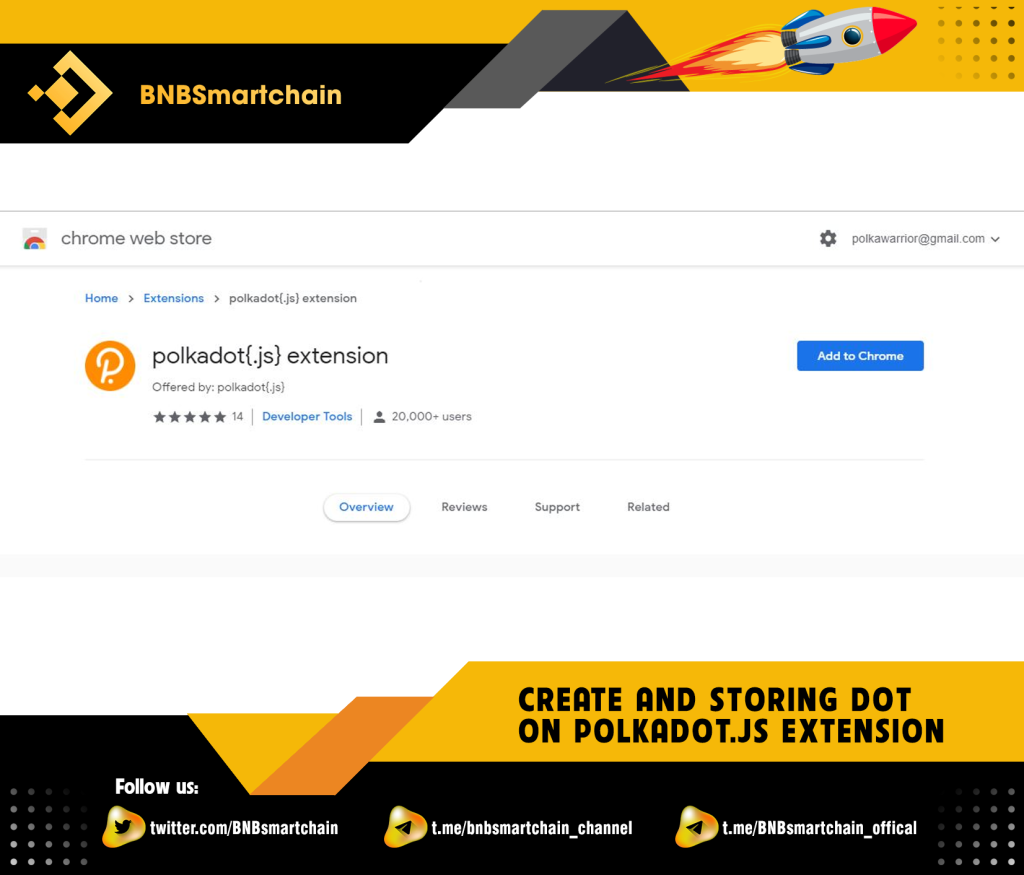
This article will show you how to store DOT with the Chrome extension application, developed by the Polkadot team.
Note: Currently, it can be difficult to manipulate because the UI (user interface) has not been developed by Polkadot. However, in the near future, the UI of the wallet interface will be updated.
Step 1: Download the extension application of the polka extension wallet (same as adding the Metamask application). Select “Add to Chrome”
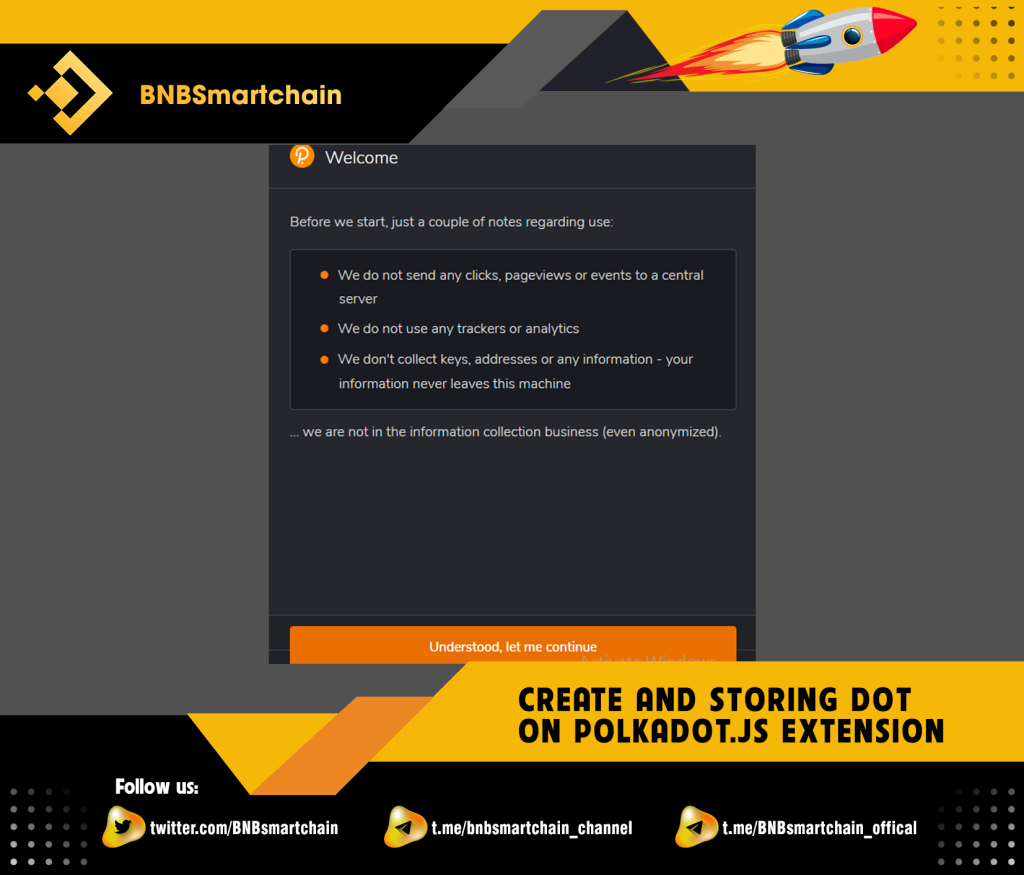
Step 2: After installing the extension in Chrome, we begin creating an account or Polkadot wallet on the extension. Select “Understood, let me continue.”
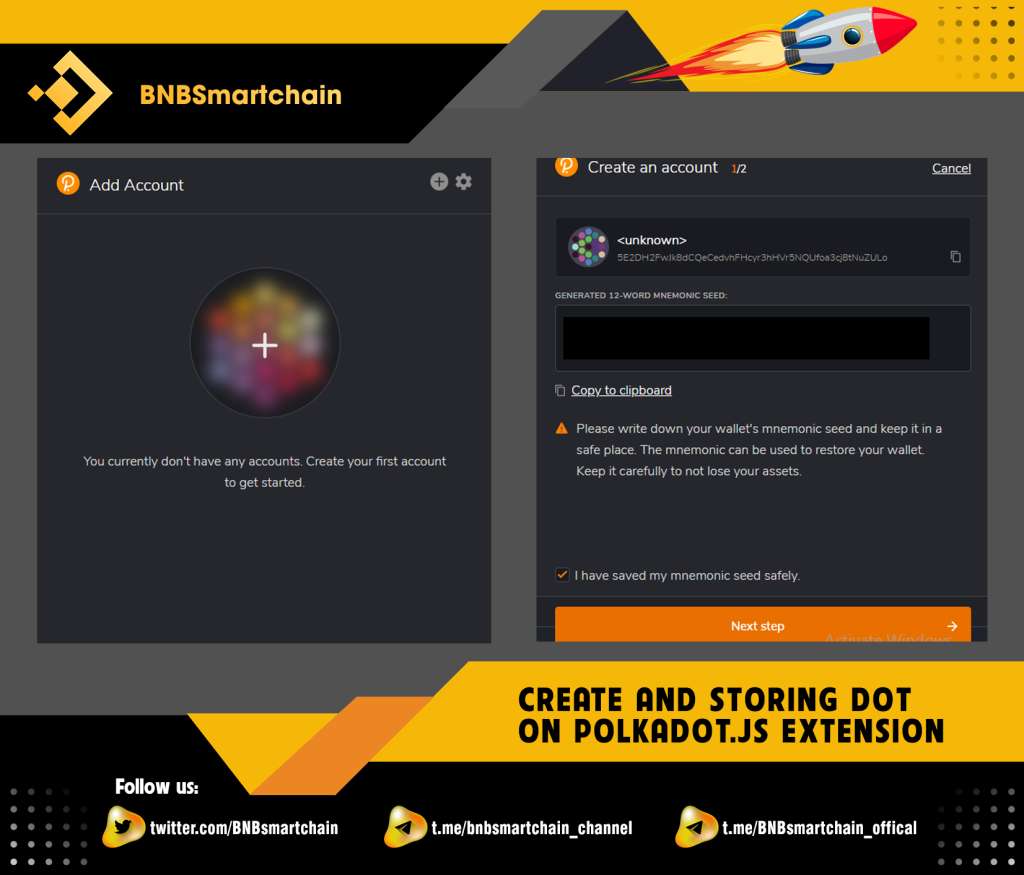
Step 3: The next step will be to add an account. Select the “+” sign.
Note that you need to save 12 mnemonic characters carefully because this will be the phrase to restore your wallet.
After you have saved 12 characters, you tick the box “I have saved my mnemonic seed safe” and select “Next step”.
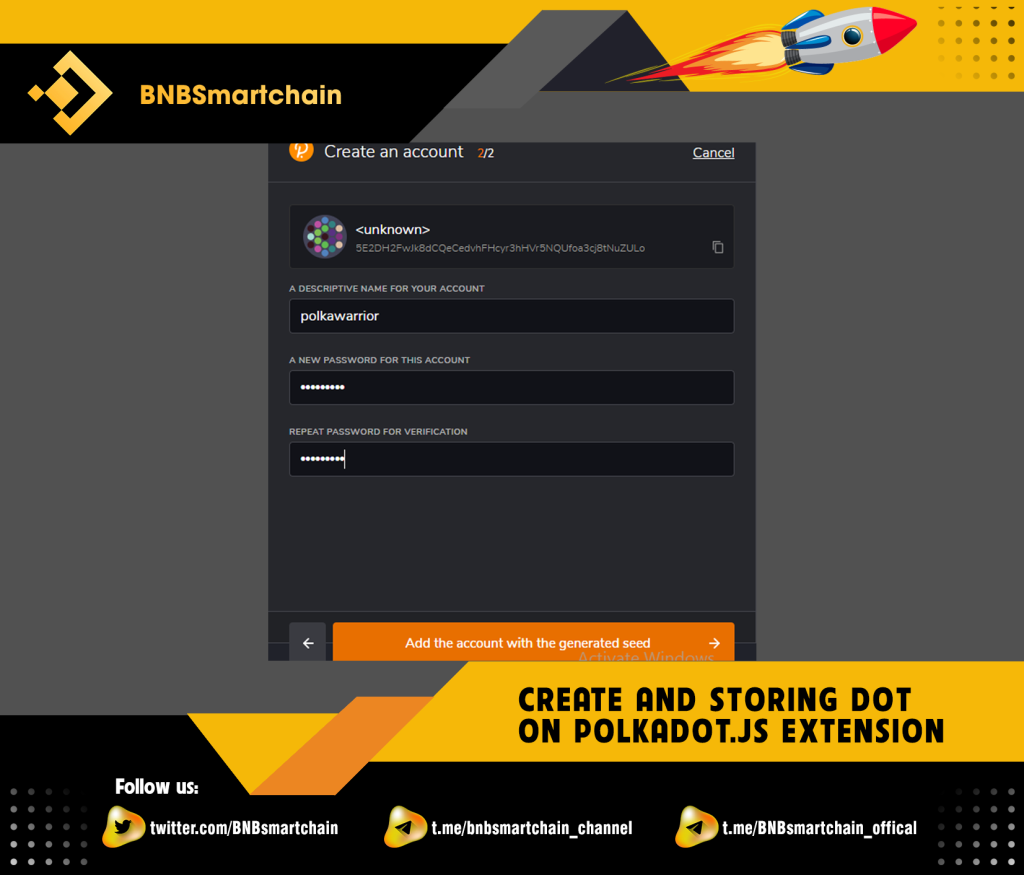
Step 4: Give the newly created account a name and a password.
It should be noted that the password will be used to verify each transaction. You need to remember your password carefully.
Then select “Add the account with the generated seed”.
So we have completed the step of creating a polkadot wallet on the extension.
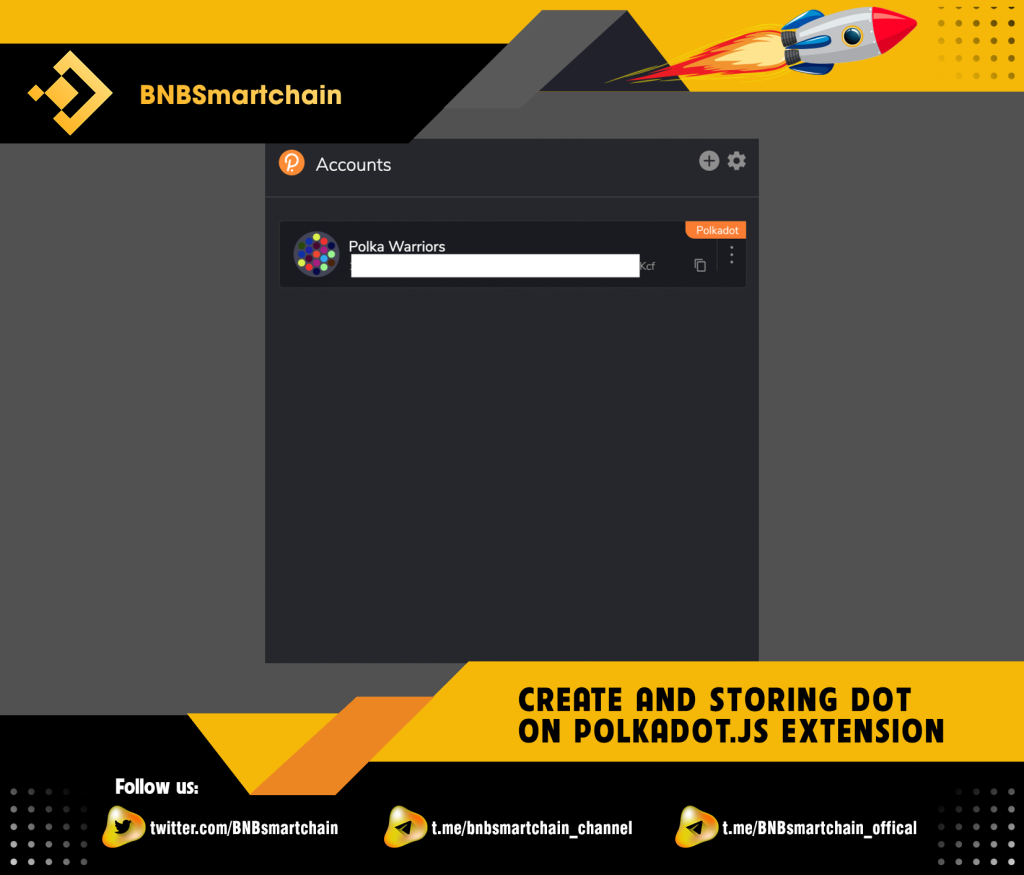
Currently, Polkadot Extension only has the function of creating wallets, not having the function to display the balance or send transactions. To send, receive, or view balance or stake commands, navigate to the Polkadot.js Homepage and connect the extension wallet.
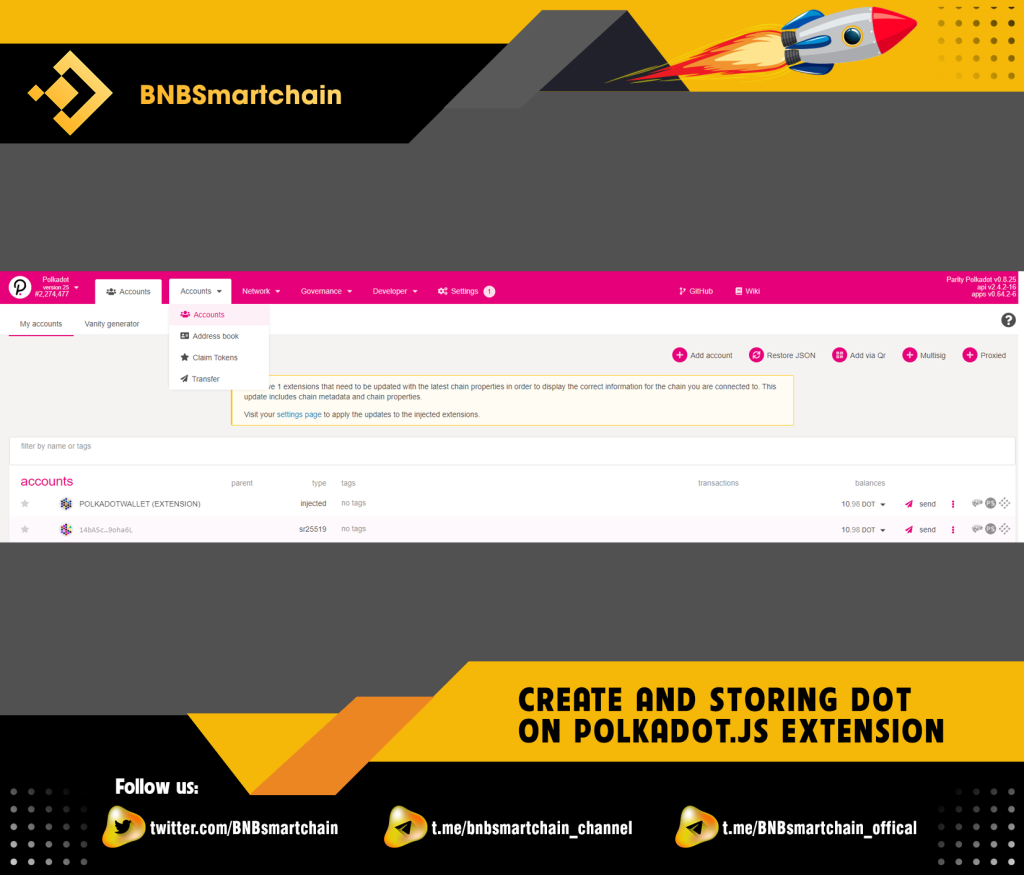
To view “Balance”, users go to the Polkadot.js.org homepage and select “Account” in the “Account” tab.
To send to other wallets, click “send”, enter the wallet address you want to send to in the “send to address” box, and then enter the amount of DOT you want to send in the “amount” box. After confirming the correct wallet address and amount to send, click “Make Transfer.”
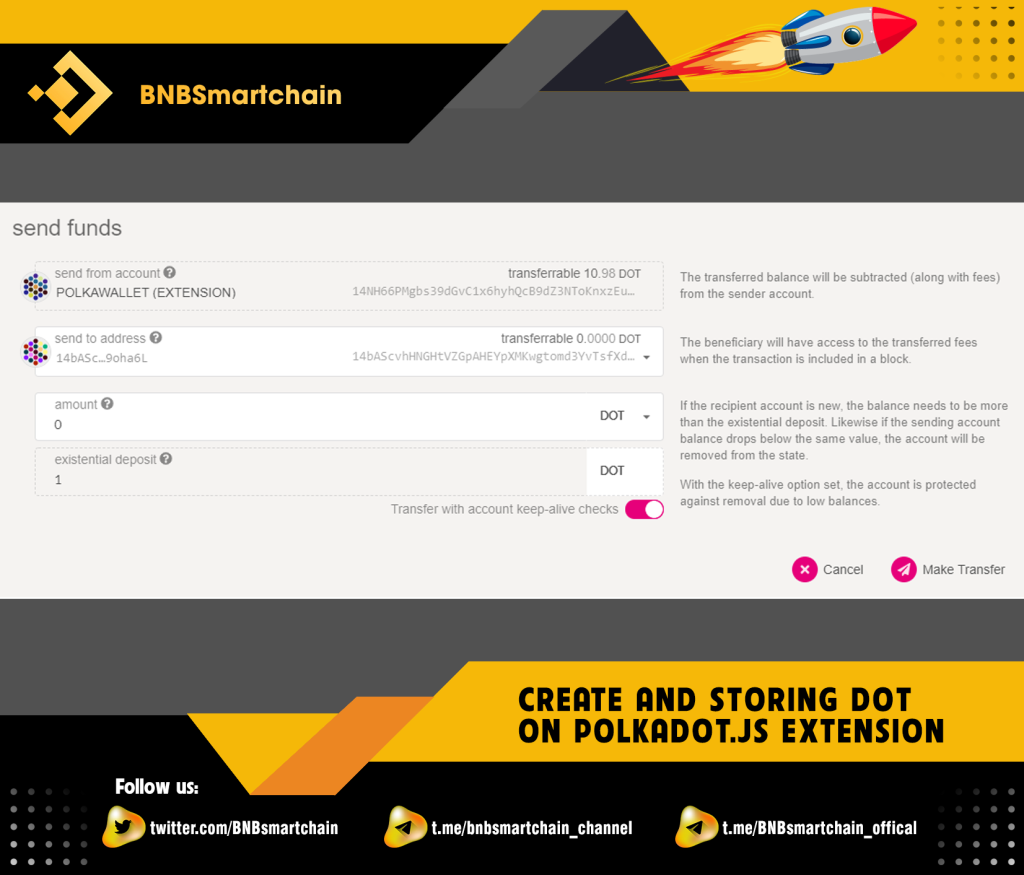
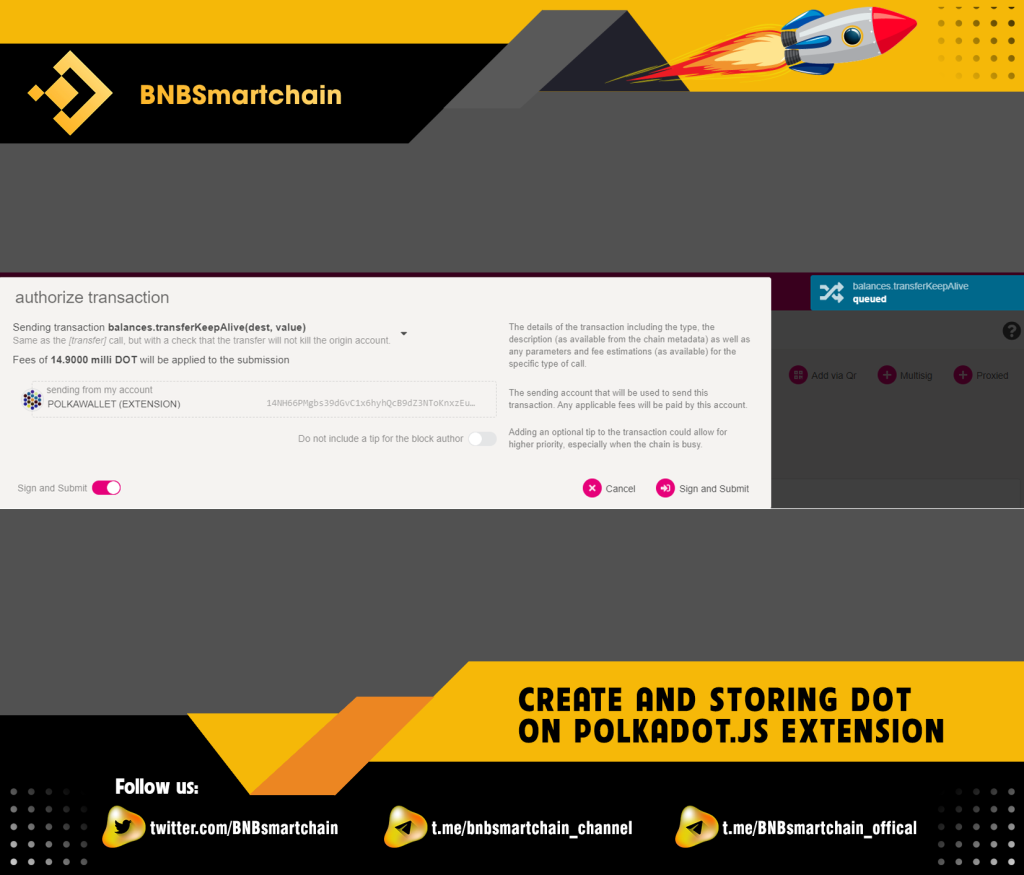
Then click on the “Sign and summit” item. Note the amount of DOT remaining after sending plus fees. There must be at least 1 DOT or the send command will not be able to execute.
See ya in the next article !
Don’t forget to follow useful articles about Crypto Market from team BNB Smart Chain!

 – 2022-02-16")
